Monday, October 13, 2014

I had to rebuild the engine

This was a problem that I had put of for years. As I never covered many miles ( sometimes the car did not turn a wheel for 2 years) I left the problem. This was a lack of thrust washer and a very worn crank and case. I would estimate 3mm travel. Yeah, and it still went until eventually I could not get a gear due to the pressure falling away from the clutch with the excess travel.
So I pulled the engine out in my drive and sent it for repair. I then ordered new main bearings, big end bearings, oversized thrust washer, new rings, valve guides and gaskets. I also got the head skimmed as the triple webbers like high compression. Oh yeah, and a new flywheel as the starter had chewed up the old one as a direct result of the crank moving forward and pulling the wheel out of alignment with the bendix.  Had the valves all done and so on. I got the short motor back and rebuilt the engine in my garage. I also took the opportunity to tidy the engine bay.  Some fresh paint and laquer and even polished the brake and clutch lines. Painted the inlet manifold and silly stuff. I put it all back together, set the timing, tuned the carbs and she is running better than ever. I just covered 500 miles and got 25 miles to the gallon! Is that amazing or wot. With triple 40 DCOE webbers no less. Obviously that was me cruising. But still, great.
ok well its time to get this thing out and start rebuilding and cleaning.


managed to get everything out. I decided at this point to leave the gearbox in place but later decided to get it out, clean it and put the engine and box in together as a single unit.

The engine bay was covered in wax oil. I tried a few methods to remove this but it turned out that Nitro and elbow grease and many rags were the only answer

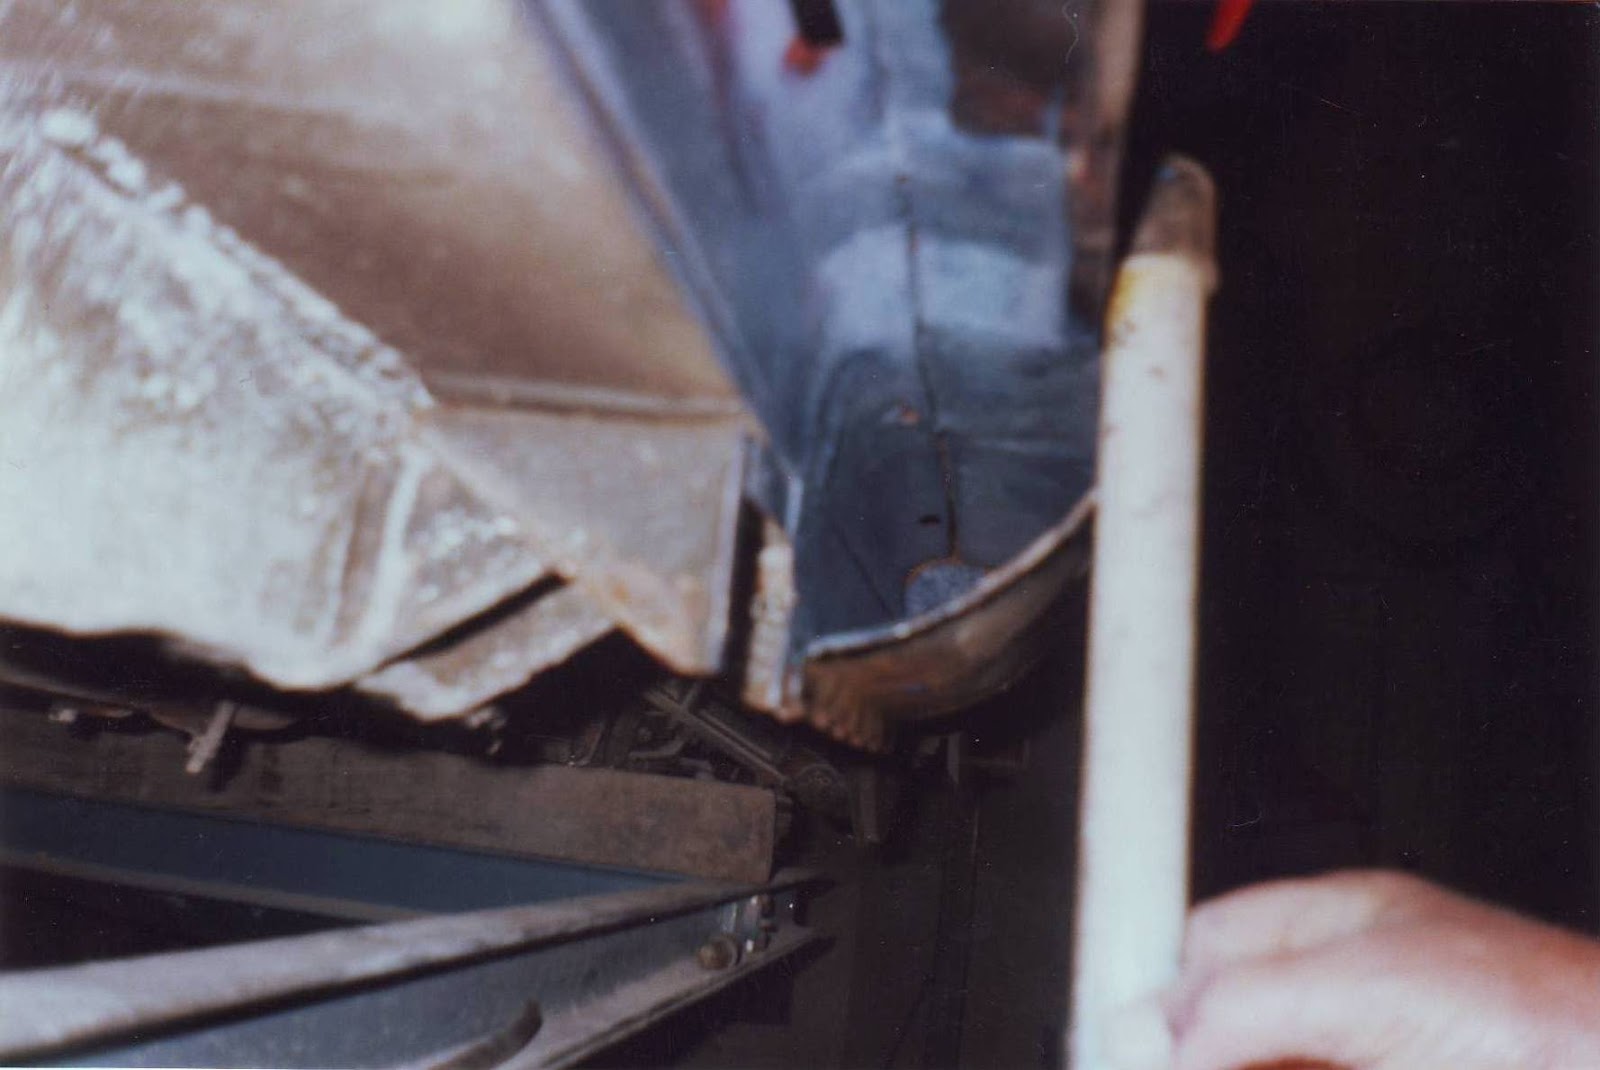
the front cross member and other parts were covered in oil and dirt. Plenty cleaning to be done

some of the ancillary parts ready for cleaning. Oh yeah I also renewed the clutch master cylinder


cleaning has gone well and a few coats of paint and lacquer and then some polishing to get it looking ready for the engine


new clutch fitted to the new fly wheel. Gearbox cleaned and new oil added

nice rust free flooring

ok, engine time now I reckon

went in easy and now all the ancillary parts go in

exhaust on, carbs on, brake and clutch lines done

oh it does look better now does it not
after looking at the clutch slave cylinder I decided it would work better by using washers to space it and push the piston half way in. In my opinion this makes it work more efficiently.


finished and out for its running in. And she is running like a Swiss watch.


Sunday, April 1, 2012

How this fantastic car came to be mine


In 1997 my best friend’s dad, who is a huge petrol head, finished up restoring this 1973 TR6 PI. The car had only been on the road for 10 years before being parked up and left in a shed. This was somewhere in Ayrshire in Scotland. Scotland’s roads are not the kindness to any car due to the copious amounts of salt that are lovingly spread over our roads every winter. Oh yeah, winter is not just a one month cold spell. We wish. Not many cars built in 1973 had the corrosion proofing that can be added to modern cars. Due to this there are so many cars now rotting away in a garage. Luckily for my Tr6 she had a very nice registration. The registration by itself was worth what the car was bought for. Now I love my mate and his family very much, but sadly the restoration of the TR6 was not to the standard that could be achieved with the addition of loads of cash and a fancy garage. But at the time I did not have the knowledge of cars to see this and just fell in love with it. Thanks to the generosity of my then employer, Mark, I was in a position to buy it. So buy it I did. Now at the time she became my regular car and she was very reliable. This was mainly due to the fact that the PI system was now removed and had been replaced by a very economical pair of twin SU carbs. But the strangle hold these carbs had on the car was drastic. I felt like the 150hp that should have been there was now down to around 110hp. I felt sorry for the US market getting this 110hp model. Well sadly for me after only having the car a year I had to go oversees to work and the car ended up being neglected back in a garage in Scotland once again. But I ended up settling down in Croatia with my now wife and decided that it was time to bring her out and drive her over to Croatia where I could once again enjoy her to the fullest. This was a journey my good friend Gordon made with me. We set off from Queensferry on the high speed ferry to Zebrugge. In the morning we left the port and headed south. The weather was terrible going through Europe but she never missed a beat and many a keen motorist gave us the thumbs up passing us. We eventually got the Split in Croatia and the car was parked up again. It turned out that my wife’s old and dear friend worked on old cars. So I decided to let him have a look at the car. The reason being that I wanted the panels aligned properly and maybe new paint. So that was it. The dye was cast for the cars second restoration which was now only 6 years after the first one. So the photos and comments to follow will show you the work involved and the fun I have now had with the car I fell out of love with and then fell back in love with.

Myself on a trip to the Island of Vis off the Croatian Coast just after she was completed.

This is how she now looks in all her pride and glory. So now lets take a look back at how she got here. Enjoy.

The outer body panels get removed

So to start with the first job was to dismantle all the body parts and identify what was hiding underneath and required repairing before the re alinement could start. There will be loads more photos added later off the cars original restoration but these were all taken on 35mm so will have to be scanned and tarted up before I can add them. They are worth waiting for so stay tuned or choose to follow by email for updates.
Now if you look at the wings and bonnet you can see the imperfections that had been previously repaired. Just look at the filler on the bonnet. God knows why it needed all that. funnily enough on the original restoration the only original external body part left on the car were the bonnet and the boot lid.


Shes stripping off just for you!


So now she is stripped and naked and we can see up her skirt so to speak. Not looking so good with her make up stripped off. Reminds me of a few one night stands I had as a lad to be honest.


Now there has been other work going on behind the scenes here which i am missing photos of, but they will appear later and be slotted in to make the progress appear in better order. I just need to adjust the time stamp. What you can also see here is that the sills had to be redone. The guy who does my body work is a master craftsman and made new sills by hand. None of that cheap after market pop on parts that never fit.

Identifying all the hidden bits


so the next stage was to start identifying all the hidden problems that were disguised by the paint. Fortunately for myself the first restoration job did include the renewal of just about all panels. This included floor pans, inner and outer wings and several other parts. Later on I will upload photos of the car as it was in the barn. I will also upload photos of the chassis being repaired and so on.

The door sills


As to be expected, the door sills were the worst. Luckily the chassis and under body were all wax oiled. But when water gets into the sill, well, all hell breaks loose. Now you may ask “how the hell did water get in there". I am not one of those owners whose never drives my car unless it’s a Sunday and the sun is shining. Hell no, I take the kids to school in it, go to the shops etc. Now to be fair, the weather in Croatia, especially the coast, is slightly more forgiving. Well summer lasts for 6 months where in Scotland if we get sun for 10 days on the trot they impose a bloody hose pipe ban and tell us we are having a draught. Typical. Well anyway, here are some old photos that have been scanned that will show you the problems and repairs to the sills. Once again, enjoy.

The roof


Now one thing I have for the car is the English heritage certificate which in this tells me that the car indeed left for its first owner with a hard top and not a soft top. And guess what, I still have the original top it was first sold with. The hard top still shows the cars original Magenta color. Which is a fancy word for horrible Purple. The car now adorns a lovely mohair soft top which after 15 years when it was installed is still in perfect condition. The hard top has just been restored by the same guy and is now awaiting new rubbers and lining before being returned to it once perfect condition.

the correct way to repair it!


Now the thing is this was obviously a poor repair from earlier. You can see the filler. Lucky for me my body work guru never hides holes. He cuts it all away and makes a new piece then blends it all in beautifully. As you can see here with the before and after. Also the new repairs to the bonnet are clear along with the top of the door. The main aim here is to have all gaps around all panels fitting perfectly. Not an easy task on a TR6 as many will know who have that annoying door that's tight at the bottom or the bonnet or boot that just does not align right. The stuff that people don't see but you know is there and just gets right under you skin every time you wash her.